Monday, February 24, 2014
HOW TO UPHOLSTER AN OPEN CHAIR BACK step II

When I last left you we had just finished upholstering the back side of a chair.
http://blogspot.ca/2013/06/how-to-upholster-open-chair-back-step-i.html

Now its time for the filling and front fabric.

Many different materials can be used to fill in the back cushioning,
but these chairs originally had 1" foam in the back rest so I chose that.

Mark out your shape and cut it to fit.

I then trim the front edge off the foam to soften the look under the upholstery.

You are getting excited, I can tell.

Time to secure your front fabric.
As mentioned in Part I, I use a hand held hand, arm powered stapler.
There is no extra room with this install for pneumatic staplers with the safety feature.

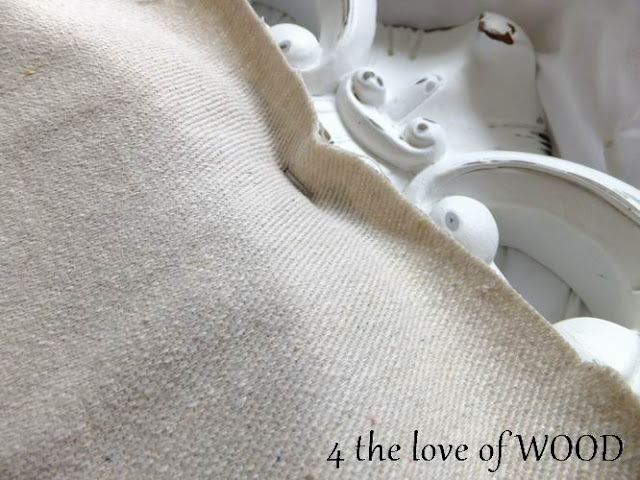
Before you start make sure to fold over the excess edge from the back fabric, as seen above.
First staple ...

and a few more ....

As in PART I when you secured your back fabric,
you are going to make another cross when you start to staple the front fabric in place.

Hold the fabric taught each time you shoot a staple in.

Continue folding the edge of the back fabric inside to hide it as you go along.

continue securing the fabric along the edge with your staple gun.

Now is the time to decide if the fabric looks good and tight in the right places.

I didnt like how this area looked so I remove one staple, pulled it tighter, and re secured it.

Take your tiny scissors and trim the excess fabric quite uniform at 1/2" long.
Small scissors are easier to use in close and tight to the frame.

This bit of excess is going to be folded over and glued.


Here you can see how important it is to have a uniformed edge for the fold over and gluing.
This edge is going to be covered with your trim. Secure your trim / gimp with a hot glue gun.
I like using a wider trim so in case I made a boo boo I have some room for errors.

So far I have finished 2 of the four chairs I have.
Each being done in a different finish, the first one was the Pale Provence Chair
and the second was the Glamorous Grey chair.

Im still finishing the last 2 of these chairs I have.
One is bright distressed white and the other is going to be a warm vintage white.
Stay tuned for a few more tips on refinishing the frames.
Stay tuned for a few more tips on refinishing the frames.


Subscribe to:
Post Comments (Atom)
No comments:
Post a Comment